How to Clean Wood Before Staining
Perfect prep is mandatory for wood staining projects, so follow these wood cleaning tips to do it right.

Prep is everything when it comes to staining a wooden surface. Without diligent and effective preparation, your refinished product is up against obstacles like dust, wax, existing stain or irregularities in the wood surface. Fight as you will – if you don’t spend a bit of time making sure the wood surface is clean, your end result isn’t going to live up to expectations.
Molly Winters
Strip Paint Layers
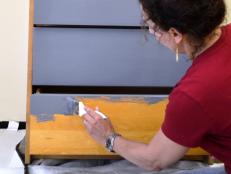
If you're looking to stain a piece with any paint residue on its surface, start by using a paint stripping agent to loosen paint on wood. It’ll soak in. It’ll bubble. You’ll resist all temptation to scratch at it until it’s fully ready to be removed, and then you’ll use a paint scraper to peel it away from the wood surface. Wipe the area clean with a clean cloth. If there's a little bit of paint remaining, it’ll likely come off when you sand the area.

GettyImages/mrmarshall
Removing paint from a hardwood surface is a pretty satisfying experience, but it’s also essential because you can’t stain wood if there are any bits of paint covering the grain.
Use Wax Removers
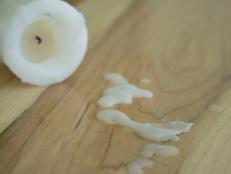
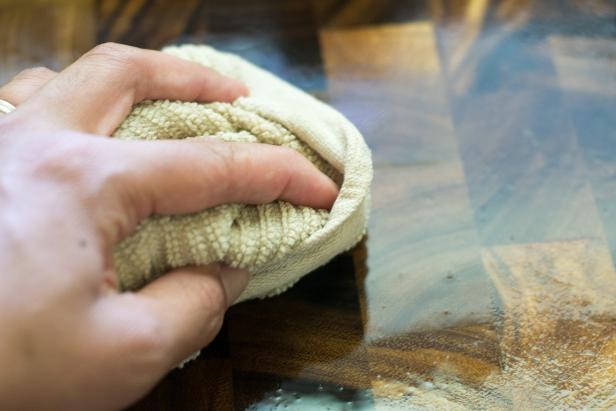
Wax is used on many wood surfaces, usually as a furniture polish, or a heavier duty floor wax. Formal “wax removers” or “polish removers” exist in stores, but you can also try to loosen wax using mineral spirits.
Debbie Wolfe
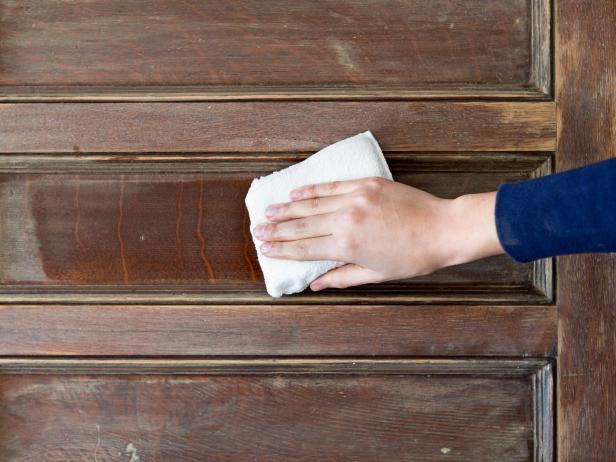
Depending on the condition of the wax, after applying mineral spirits you may be able to remove it by wiping it away with a clean, dry cloth. It’s also likely that you’ll want to use an agitating scrubber, but be forewarned that it could damage the underlying wood grain. Elbow grease with a cotton rag is safer and more effective for removing wax layers from wood.
Sand the Surface
Power Sanding
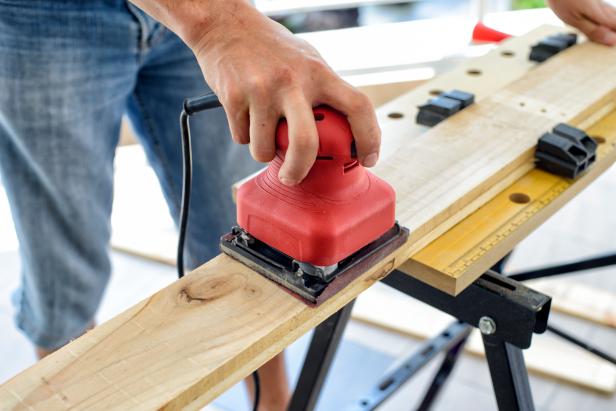
When you’re working on a large surface, it’s nice to lean on power tools for a little extra muscle. Use a palm sander or a random orbital sander to quickly strip away imperfections and previous layers of stain to reveal the underlying natural wood. Work efficiently by starting with a coarse sandpaper in the 60-100 grit range and gradually switch to finer sandpapers rated closer to 150 grit.
GettyImages/Jordan Lye
Sanding by Hand
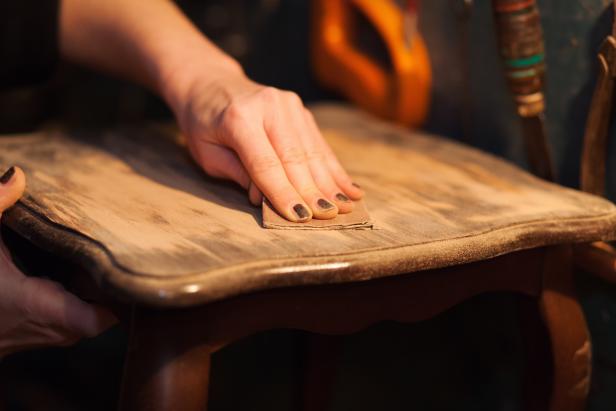
Sanding a wood surface by hand is an option too. If your piece doesn’t need the force of an electric tool, use various degrees of coarse sandpaper to remove stubborn spots and existing stain. Then, work up towards fine sandpapers to even out the wood surface so that it’s taken back to its fully raw, natural wood state.
GettyImages/Jovo Marjanovic
The last stage of refinishing a fine wood piece involves using fine-grit sandpapers (200+ grit) and smoothing out any rough edges to the wood so that it feels and looks uniform. Finishing with a very fine sandpaper by hand is ideal whether you used a sanding machine or prepped the wood by hand.

GettyImages/Jamie Grill
Tack On
Lastly, before you stain, it’s a good idea to use tack cloths to clean every last bit of dust off the prepped wood surface. Tack cloth is a cheesecloth-like piece of fabric that’s coated in a layer of sticky adhesive. The “tacky” finish of the cloth is used to capture every last bit of dust that might remain on the surface of your wooden piece. It’s an essential last step to the sanding and preparation process, which easily leaves dust in random nooks and crannies of the wood. Removing that debris aids in even stain saturation and results in a blemish-free stained finish.
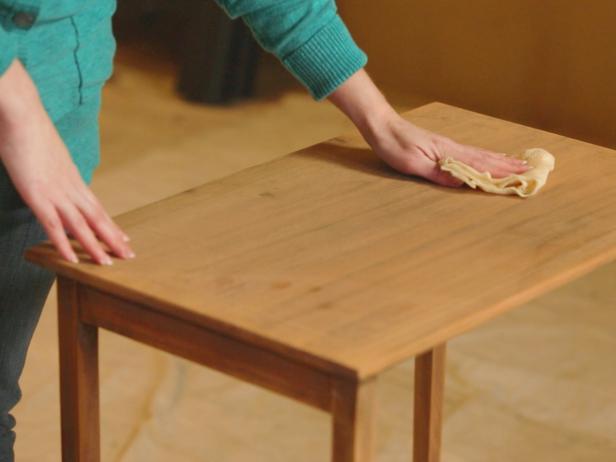
Now, you’re ready to add stain!
